Helix Construction by Bill Kirchmeyer
The platform that you build the helix on must be level and plane in all directions. You will note that I chose 1/2″ Baltic Birch plywood for my helix. It is composed of nine plies all of which are hardwood. Regular plywood is softwood. Advantages – It is much stronger than even 3/4″ regular plywood, It is ruler flat and it will not flex or warp. It does cost a couple of bucks more.
Photo 1 – Close up of vertical first level spacer blocks. There are sixteen of these evenly spaced around the base of the helix. Each of the blocks is one-quarter inch higher than the previous block for a total rise of four inches per turn. On the outside of each block is a 3/4 x 1/2 inch vertical strip attached with yellow glue and brad nails. The height of these strips equals four times the number of turns in the helix.
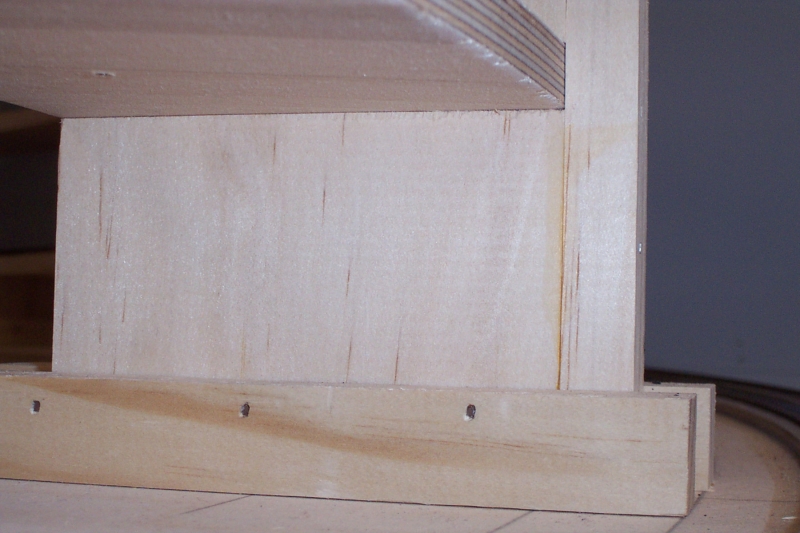
Photo 2 – This photo is one level up from the base and shows the 3/4 x 1/2 x 3 &1/2-inch spacer blocks that set each level. The inside ones are just set in place until the track is in. There are only four blocks on the inside spaced 1/4 of the way around. The inside blocks are only there to prevent the roadbed from twisting. These are tied together after the track is in with short blocks.
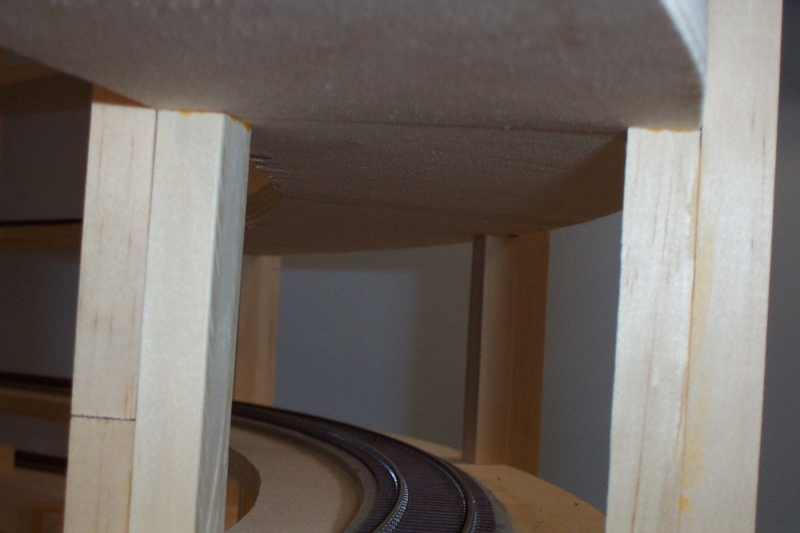
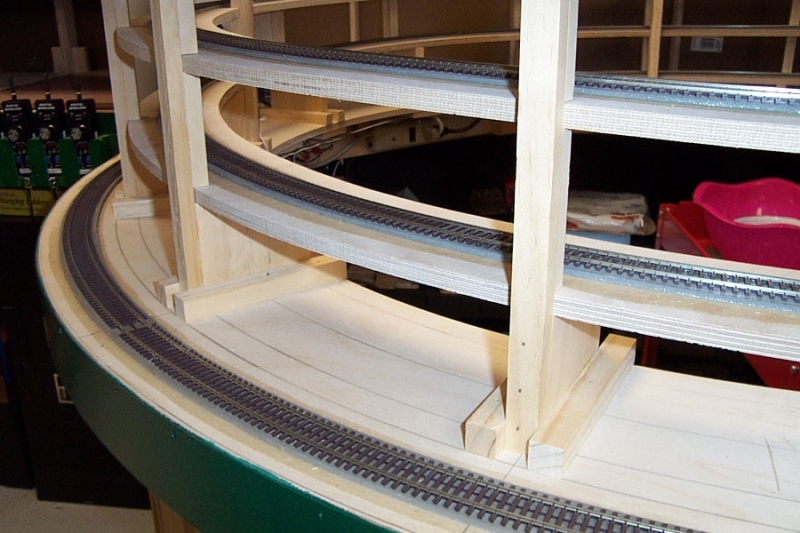
Photo 3 – This photo gives an overview of how the levels are supported. The inside spacer blocks cannot be seen in this picture. They are just out of sight, one to the left outside the view and another out of sight back behind the upright in the center of the photo. There are four spacers on the inside of each level and they are 90 degrees apart. The blocks with the red X are the base blocks. These are each 1/4-inch taller than the previous block.
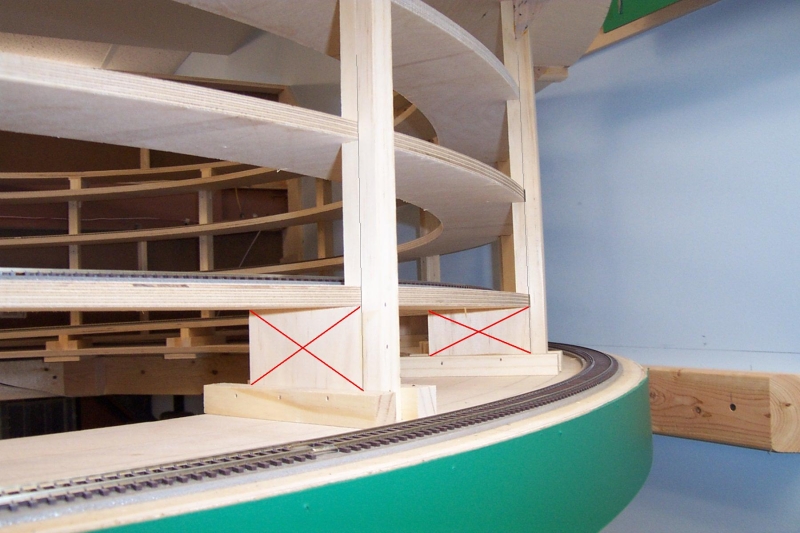
Photo 4 – This view shows one of the inside risers. The inside risers are pieced together level-by-level as the helix goes up. This is to keep the inside clear until the track is laid. Lay track on each level before adding the next level.
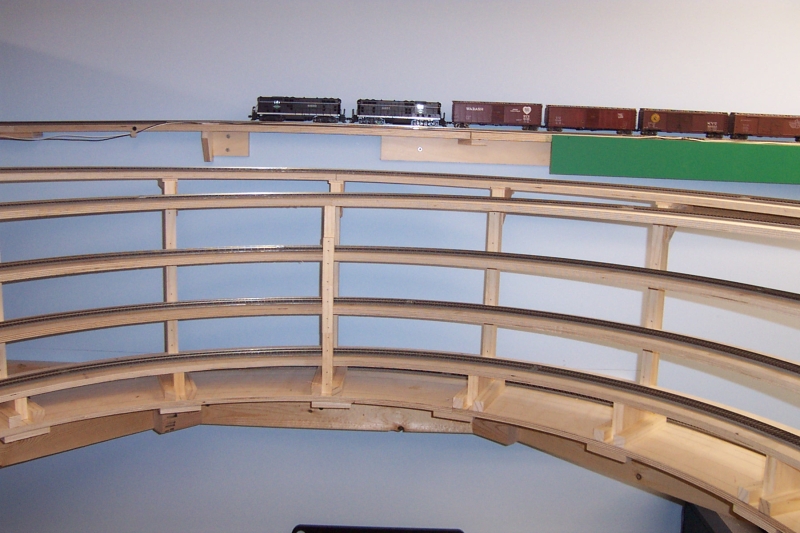
Photo 5 – This overview shows the completed helix. Note that this helix serves the back end of my staging yards. There are two yards, one on each level and they are double ended. The helix allows trains to be sent to the other level for reuse during a session. (Mostly coal drags) The helix also has a return loop at the top and another at the bottom for turning trains on the same level.
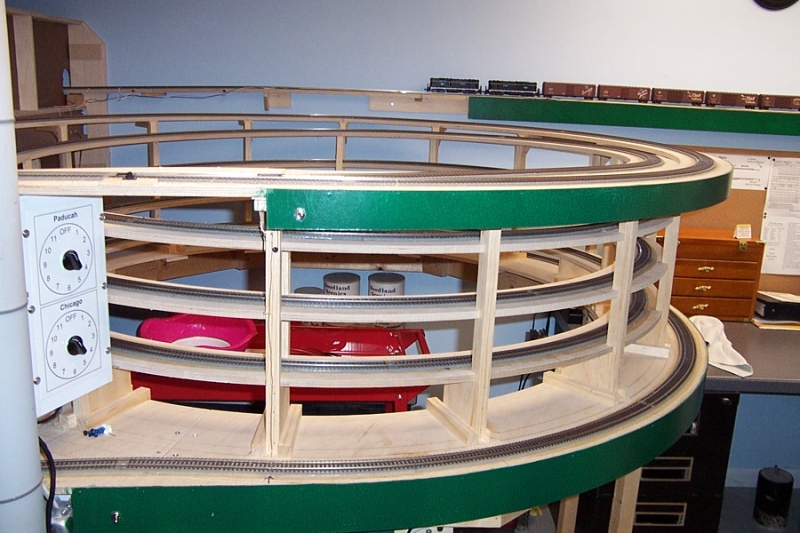
Photo 6 – Here is another view of the inside risers. Here you can see two of the four.
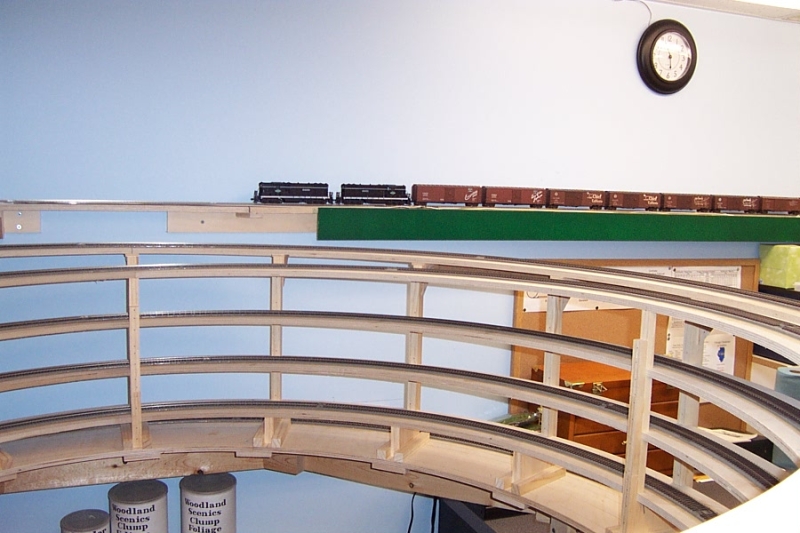
Photo 7 – This view shows how the return loops were added to the outside of the helix.